Developed and maintened by Github, Electron is a framework helping you to build cross platform desktop applications (OSX, Windows, Linux) using web technologies HTML, CSS and JavaScript. It ships NodeJS as runtime and Chromium rendering engine. In addition to NodeJS, Electron provides a nice API to interact with the operating system.
As common thread I decided to build a Digital Asset Management or DAM. I will implement two basic feature:
- Import an Asset
- List imported Assets
Create and start the application
I use Electron Forge as builder to initialize the project. There are more.
npx create-electron-app electron-dam
cd electron-dam
Forge provides Templates in order to start easily with tools like Webpack or TypeScript.
Then I run the app.
npm start
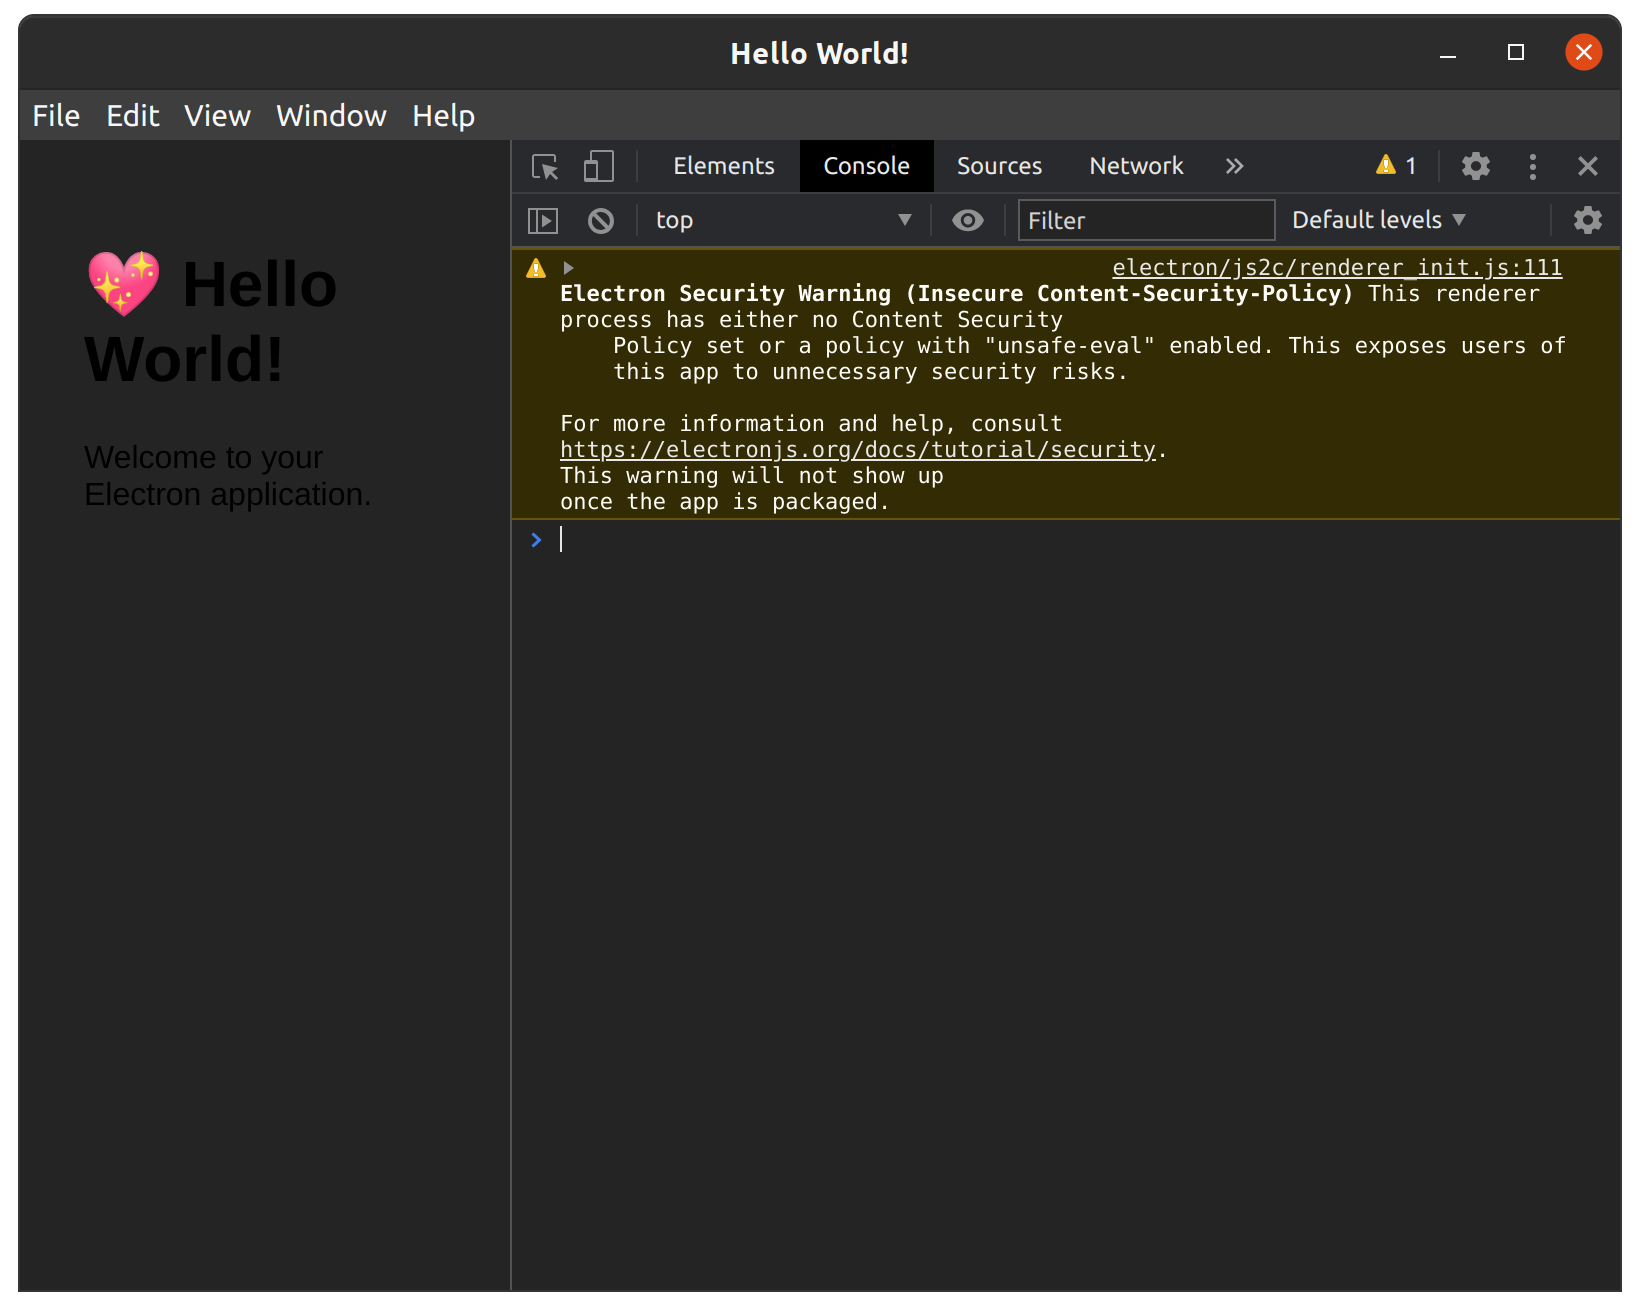
I can see several things pretty cool here. My app looks like any other. There are a title, a menu, an visual interface with text and emoji. There is even a DevToolBar !
I tested this hello-world app on Ubuntu 20.04, Windows 10 and OSX Catalina, so far so good.
My first impression is really good. It’s pretty simple to build and running a first small application.
Bootstraping
I look what is inside the project.
// package.json
{
    "main": "src/index.js",
}
As any NodeJS app, main is the entrypoint.
// package.json
{
    "scripts": {
        "start": "electron-forge start",
        "package": "electron-forge package",
        "make": "electron-forge make",
        "publish": "electron-forge publish",
        "lint": "echo \"No linting configured\""
    },
    ...
}
Forge provides several useful commands to publish an app.
// package.json
{
    "config": {
        "forge": {
            "makers": [
                {
	            "name": "@electron-forge/maker-squirrel",
	            "config": {
		        "name": "electron_dam"
	            }
	        },
	        {
	            "name": "@electron-forge/maker-zip",
	            "platforms": [
	                "darwin"
	            ]
	        },
	        {
	            "name": "@electron-forge/maker-deb",
	            "config": {}
	        },
	        {
	            "name": "@electron-forge/maker-rpm",
	            "config": {}
	        }
            ]
        }
    }
}
Makers make specific platform package.
Plugins are used to extend Forge. For example it’s possible to take advantage of Hot Module Reload.
index.js is very well documented. Electron API is intuitive.
index.html and index.css define graphical rendering like any web app.
If I change HTML or CSS, there is no need to reboot the app. I can refresh as I could do in my web browser to see modifications.
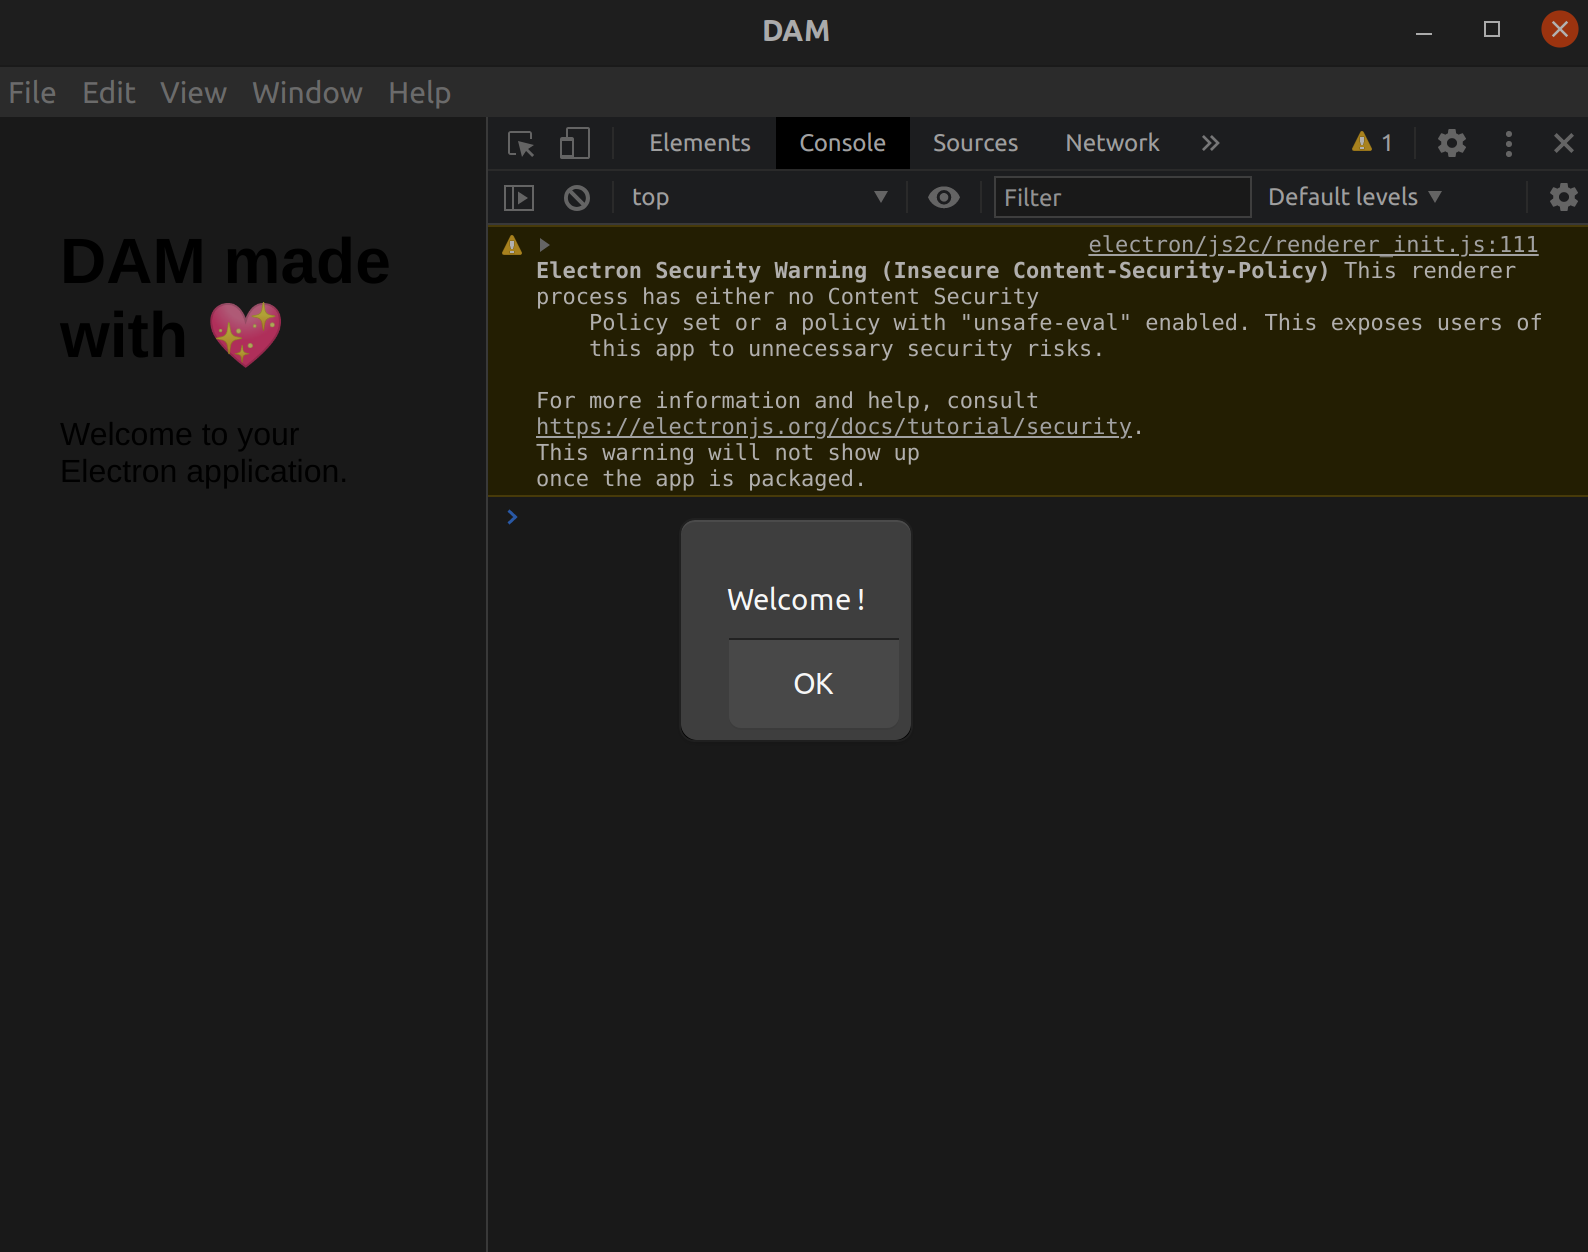
Of course it’s possible to add JavaScript:
<!-- index.html -->
<script>
    document.getElementsByTagName('h1')[0].addEventListener("click", (event) => {
	alert('Welcome !');
    });
</script>
However, if I want to change something in index.js like increase window size:
const mainWindow = new BrowserWindow({
  width: 1200,
  height: 800,
});
I have to run the app again.
⚠️ index.js is executed by NodeJS when HTML and CSS files are interpreted by the browser. If I use web app comparison, I would say index.js act as the backend while HTML act as the frontend.
Import an Asset
In order to store Assets, I have to set a directory on user’s computer.
Initialize storage directory
At launch, I check if folder exists. If not, I create it. I chose destination folder but in the future I could let user choose.
// index.js - Main process
const { app } = require('electron');
const path = require('path');
const fs = require("fs");

const assetsFolder = path.join(
  app.getPath('documents'), '/electron-dam-assets'
);

try {
  if (!fs.existsSync(assetsFolder)) {
    fs.mkdirSync(assetsFolder);
  }
} catch (err) {
  console.error(err);
}
app.getPath offers multiple options. From a developer perspective it’s handy because I don’t need to worry about operating system details like how filesystem works.
After restarting my app, I check if there is a folder electron-dam-assets in my Documents:
ls -al ~/Documents
...
drw-rw-r--  2 quentin quentin 4096 déc.   8 18:49 electron-dam-assets
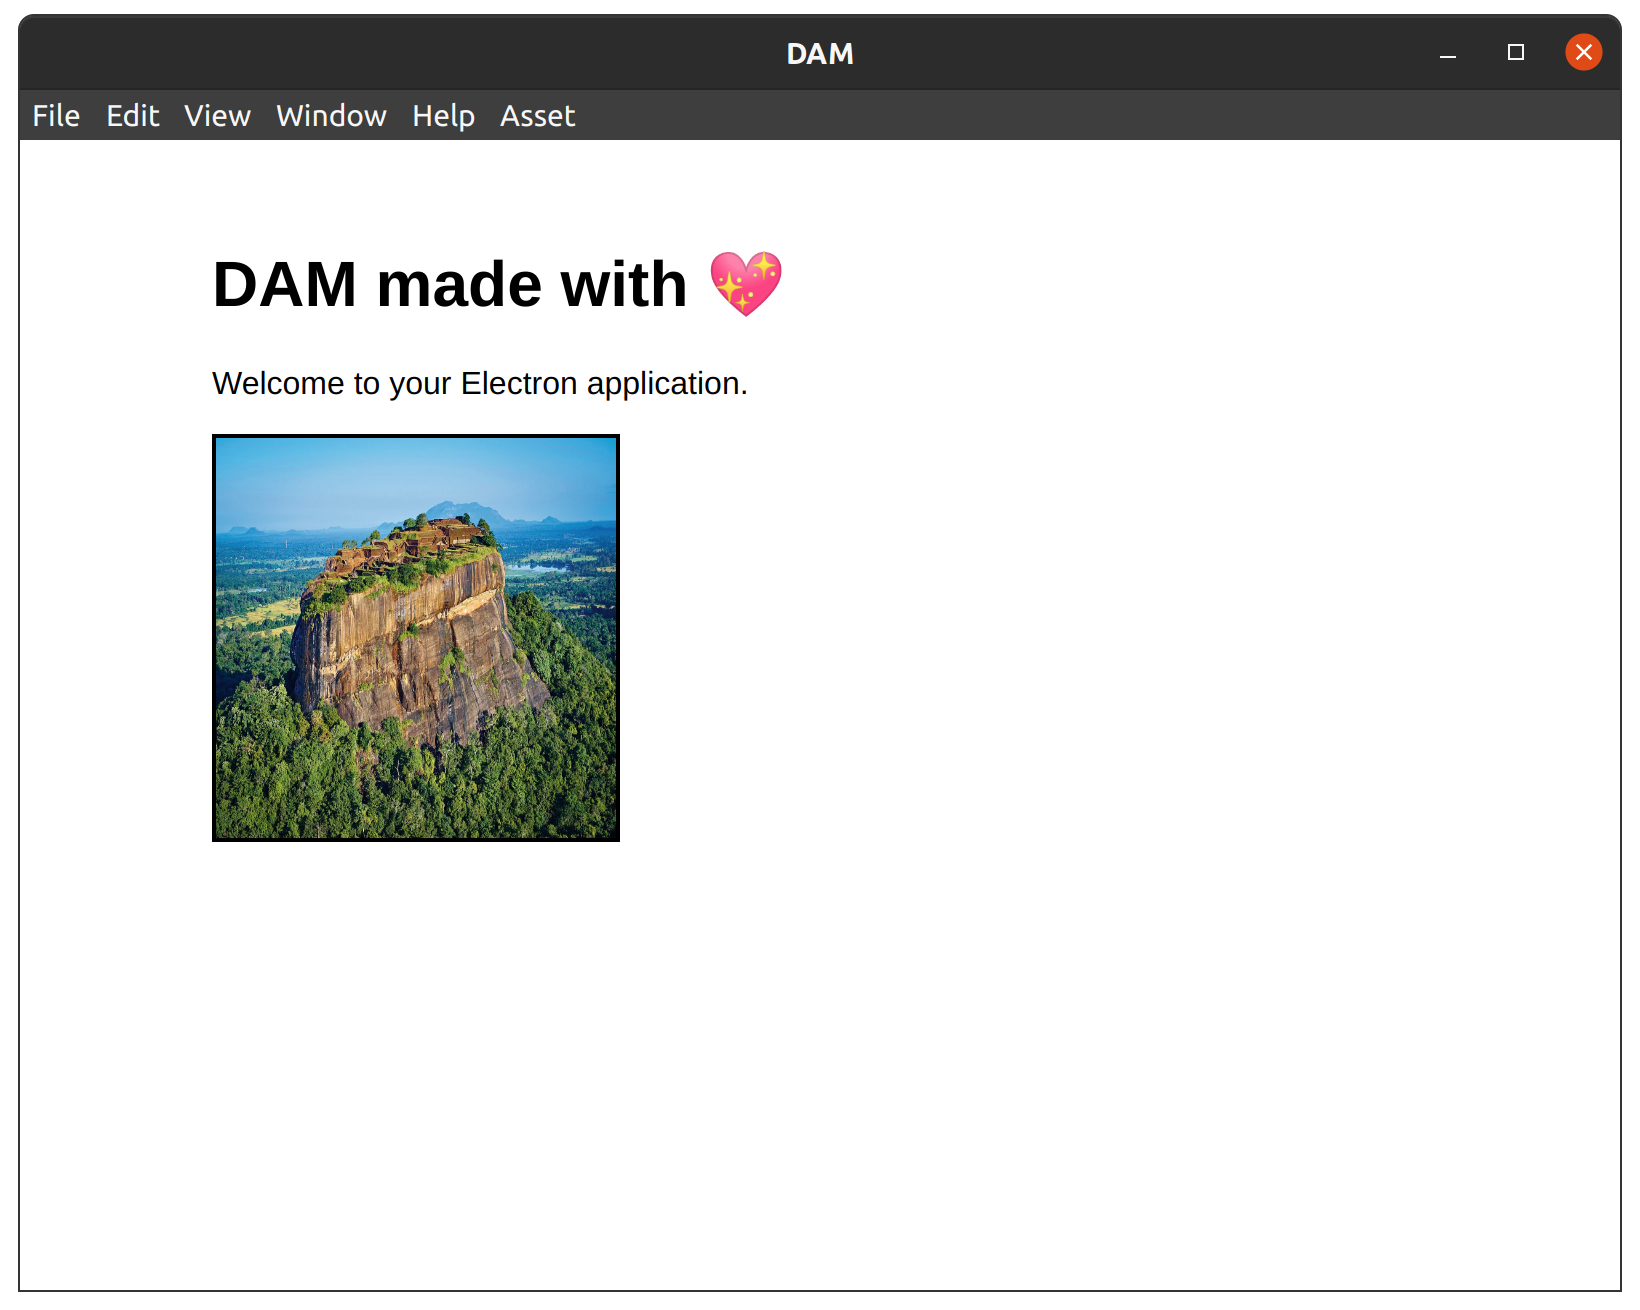
Add a menu
I provide to the user a new menu Asset. By default Electron initialize a basic menu. I can override and extend the menu when the app is ready with Menu and MenuItem. When user clicks on Asset, then Import, a dialog will prompt to select on his/her computer which file he/she wants to import.
// index.js
import { Menu, MenuItem, dialog } from 'electron';

app.on('ready', () => {
  let menu = Menu.getApplicationMenu();
  menu.append(new MenuItem({
    'label': 'Asset',
    'submenu': [{
      'label': 'Import',
      'click': () => {
    	  let filepaths = dialog.showOpenDialogSync({
          properties: ['openFile']
        });
        if (filepaths === undefined) {
          return;
        }
      }
    }]
  }));
  Menu.setApplicationMenu(menu);
}


Save the file
importAsset copies selected file into Assets folder.
'click': () => {
  ...
  importAsset(filepaths.shift());
}

const importAsset = (filepath) => {
  let filename = path.basename(filepath);
  let newFilepath = path.join(assetsFolder, filename);
  fs.copyFile(filepath, newFilepath, (err) => {
    if (err) throw err;
  })
}
I can check file has been copied:

Display Assets
Next step is to show to the user all imported Assets on the main window.
<!-- index.html -->
<div id="assets"></div>
/* index.css */
#assets {
  display: grid;
  grid-template-columns: repeat(3, 1fr);
  grid-gap: 10px;
}

.asset {
  width: 200px;
  height: 200px;
  border: black solid 2px;
}
For each BrowserWindow instance a renderer process is created. I add two options. First I authorize NodeJS integration into renderer process. Then I provide Assets folder path as process argument. I explain later how processes work in Electron.
// index.js
const mainWindow = new BrowserWindow({
	...
  webPreferences: {
    nodeIntegration: true,
    additionalArguments: [assetsFolder]
  }
});
From client side, I get Assets folder path from process’ arguments. Then for each file I add a new element img in DOM with src attribute containing file path.
// index.html
const path = require("path");
const fs = require("fs");

let assetsFolder = process.argv.slice(-1)[0];
let assets = document.getElementById('assets')
assets.innerHTML = '';
fs.readdir(assetsFolder, function (err, files) {
    if (err) {
        return console.log('Unable to scan directory: ' + err);
    }
    files.forEach(function (file) {
        let img = document.createElement("img");
        img.src = path.resolve(assetsFolder, file);
        img.className = "asset";
        assets.appendChild(img);
    });
});
When I reload the app I should see all my imported Assets !
With these two small features I gave you an overview on how build an app on Electron. However there are, in my opinion, some concept that are very important to grasp.
Processes
Electron has two types of process.
MainProcess
There is only one main process. Running from NodeJS, MainProcess will interact with the system using NodeJS API and Electron API. Like I said above, it’s like our backend in a web application.
Renderer process
For each BrowserWindow instance Electron provides a renderer process. It means there can be as many renderer processes as there are windows. If BrowserWindow instance is destroyed the same is true for renderer process. Because Electron uses Chromium to render view as web page, renderer process has access to browser’s API. It’s the frontend part of your web application.
There are more about processes in the documentation.
Security
For convenience I made NodeJS available from renderer process possible.
⚠️ Giving access to NodeJS from renderer process is handy but makes my application vulnerable. For instance if I load remote content I expose my system to XSS injection attack.
By default, Electron disables NodeJS integration and follows the least privilege principle.
Official documentation provides recommendations about application security.
Having this in mind, my frontend must be able to send messages, queries and commands, to my backend. In a web application I typically do this by sending HTTP requests to backend API and waiting for response. How does that work with Electron ?
Inter-Processes Communication
To make it happen, Electron’s API provides two modules: IpcMain and IpcRenderer.
ipcRenderer.send(channel, data); // Send data to main process on a given channel
ipcRenderer.on(channel, (event, ...args) => func(...args)); // Receive data from main process on a given channel

ipcMain.on(channel, (event, ...args) => func(...args)); // Receive data from a renderer process on a given channel
BrowserWindow.webContents.send(channel, data); //Send data to a specific renderer process (BrowserWindow instance) on a given channel
Of course, as I said before, if I want to keep my app secure I can’t use it directly from renderer process. There is a final step to implement called preloading.
When I create a new window I can specify to run a pre loading script before renderer process:
// index.js
const mainWindow = new BrowserWindow({
    ...
    webPreferences: {
        preload: path.join(__dirname, "preload.js")
    }
  });
This script has access to NodeJS and Electron’s API as main process do. I use it as a gateway between main process et renderer process. From now on I can follow the least privilege principle by providing a backend API to my frontend. I can extend rendering process capabilities without giving access to anything:
// preload.js
const { contextBridge,ipcRenderer } = require('electron');
contextBridge.exposeInMainWorld(
    "api", {
        send: (channel, data) => {
            ipcRenderer.send(channel, data);
        },
        receive: (channel, func) => {
            ipcRenderer.on(channel, (event, ...args) => func(...args));
        }
    }
);
//index.html
window.api.receive("channel", (data) => {
    console.log(`Received ${data} from main process`);
});
window.api.send("channel", "some data");
Everything I need to do now is to put in place some validation layer and I’m good to go.
To better understand IPC, security and preloading matters I suggest you to read this very good comment that explains everything.
Tests & Debug
There are several ways to test and debug its application. I won’t go in too much details.
- Chrome DevTools is available. Use it as you used to in a web application.
- Debugging with VSCode
- Unit Test with Jest
- Integration Test
Package and Publish
Electron Forge provides several utilities to help:
Performance
There are a lot of best practises from documentation. Many of well known and widely used desktop applications are developed with Electron and work pretty well such as:
- Slack
- Discord
- Notion
- VSCode
- Twitch
- Figma
- …
Conclusion
Start a new app and seeing it running in just two commands is very cool.
Cross platform promise looks like is being kept so far. It must have exceptions tho.
Developer experience is great. JavaScript ecosystem maturity is growing every day. TypeScript helped me a lot for typing and Webpack is really helpful for building and configuring. On the frontend side you can use frameworks like React or Vue. An experienced JavaScript ecosystem developer will be used to it with ease.
There are, however, some notions that are difficult to grasp. I thought it was a good idea to use backend and frontend terms to compare with Web development but don’t make mistakes, environments are different.
That’s being said, Electron, thanks to web technologies, offers a great experience to develop desktop app for a small price.